

IT Department · School Wi-Fi
Getting your Mac onto MHS-SECURE
For pupils and staff — the steps are the same for both, apart from one choice at step 6. Allow about 20 minutes. Macs need one manual step that iPhones and iPads do not — the Wi-Fi settings do not always arrive on their own, so Part C matters.
Before you start, you need
- Your school account — the short form, not your full name: e.g. BusMkh@michaelhouse.org for a pupil or VanOos@michaelhouse.org for staff. Not sure what yours is? Ask IT before you start.
- An admin account on the Mac — you will be asked for your Mac password to install a profile.
- To be on campus. The certificate step only works on the school network.
- About 20 minutes.
Part A
Join a school network
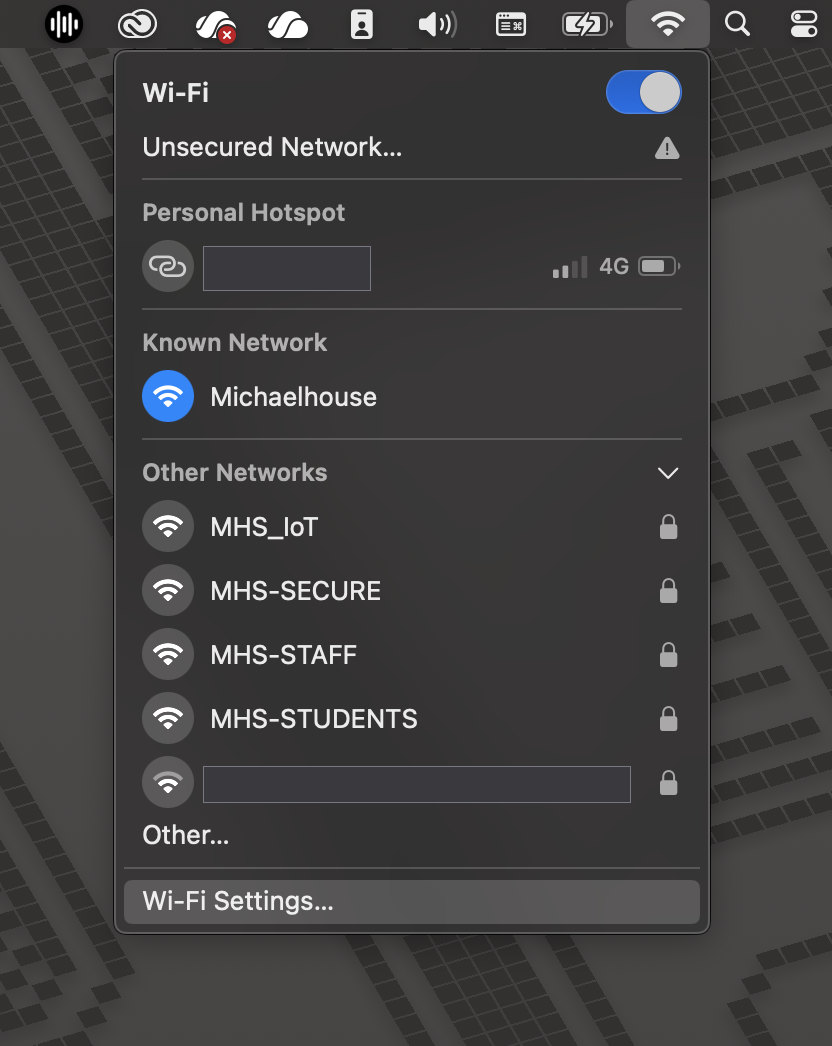
- 1Join Michaelhouse (open, no password), or use a wired
connection if you have one. No sign-in page appears — that is correct.
Part B
Install Company Portal and enrol
- 2Download Intune Company Portal for macOS from the school: 10.0.150.91/profile-templates/onboarding/CompanyPortal-Installer.pkg.
This link only works on campus — that is deliberate. Microsoft’s own download does not work on the Michaelhouse network, so the school hosts its own copy and checks nightly that it still matches Microsoft’s.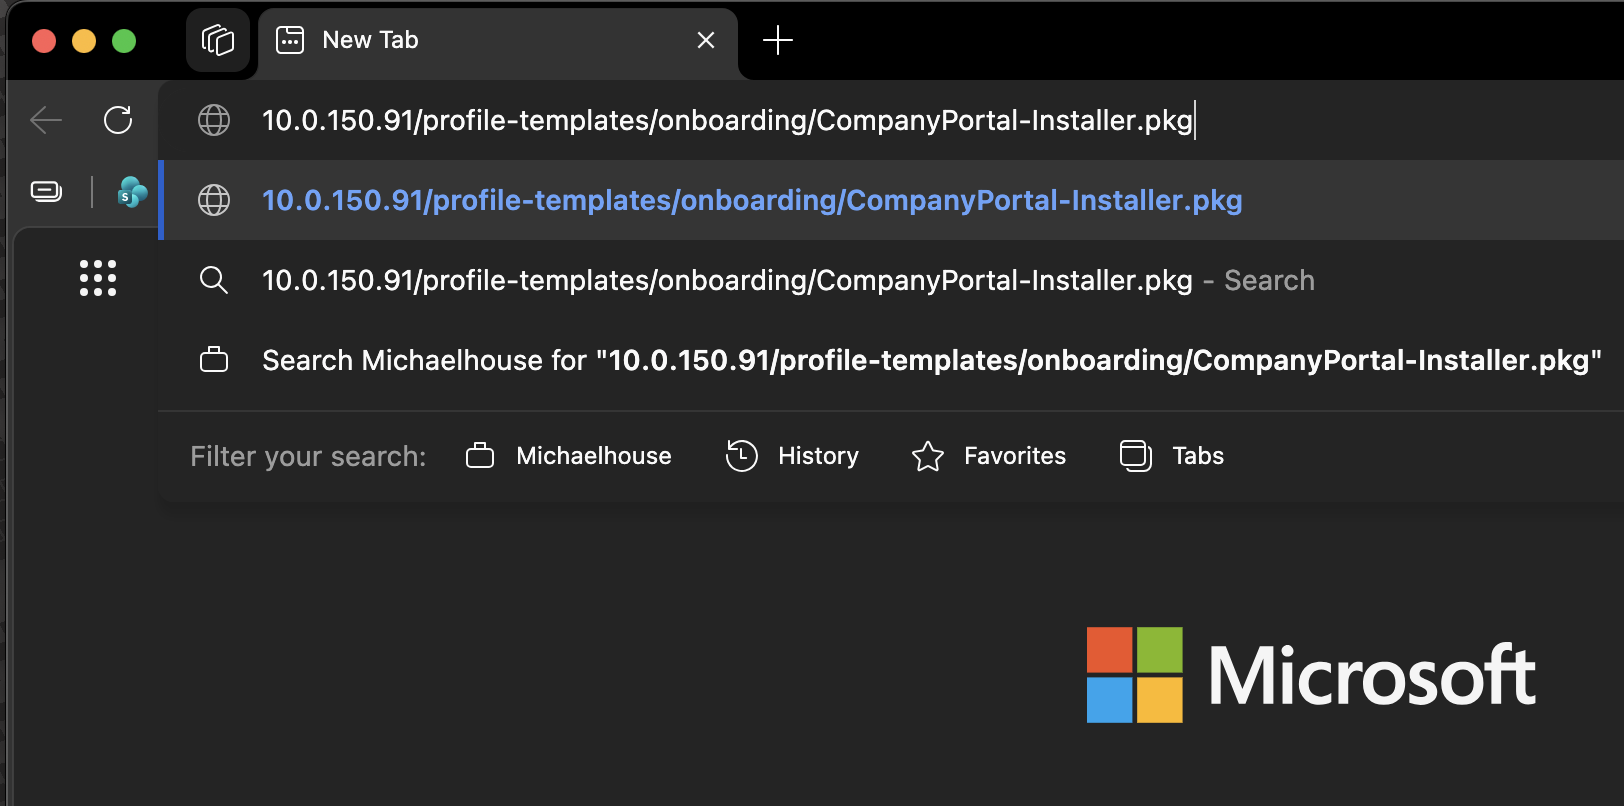
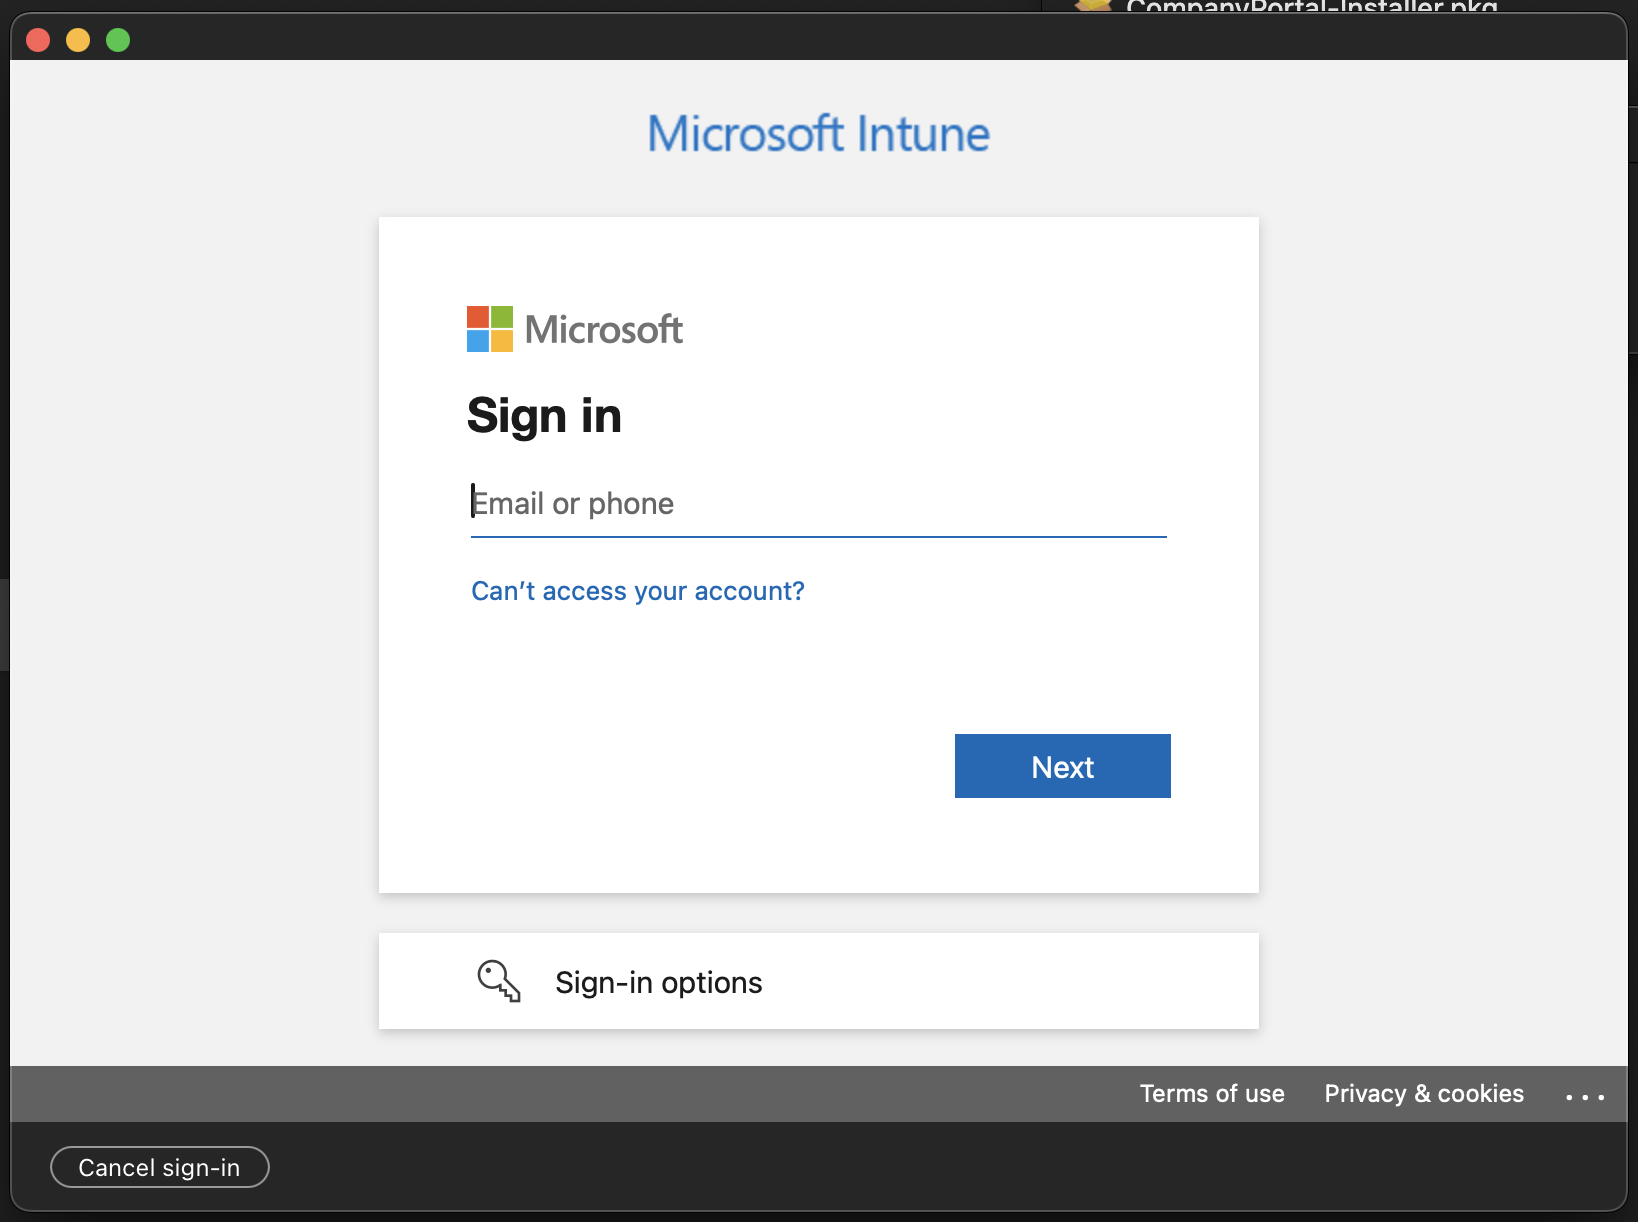
- 3Open it and sign in with your school account.
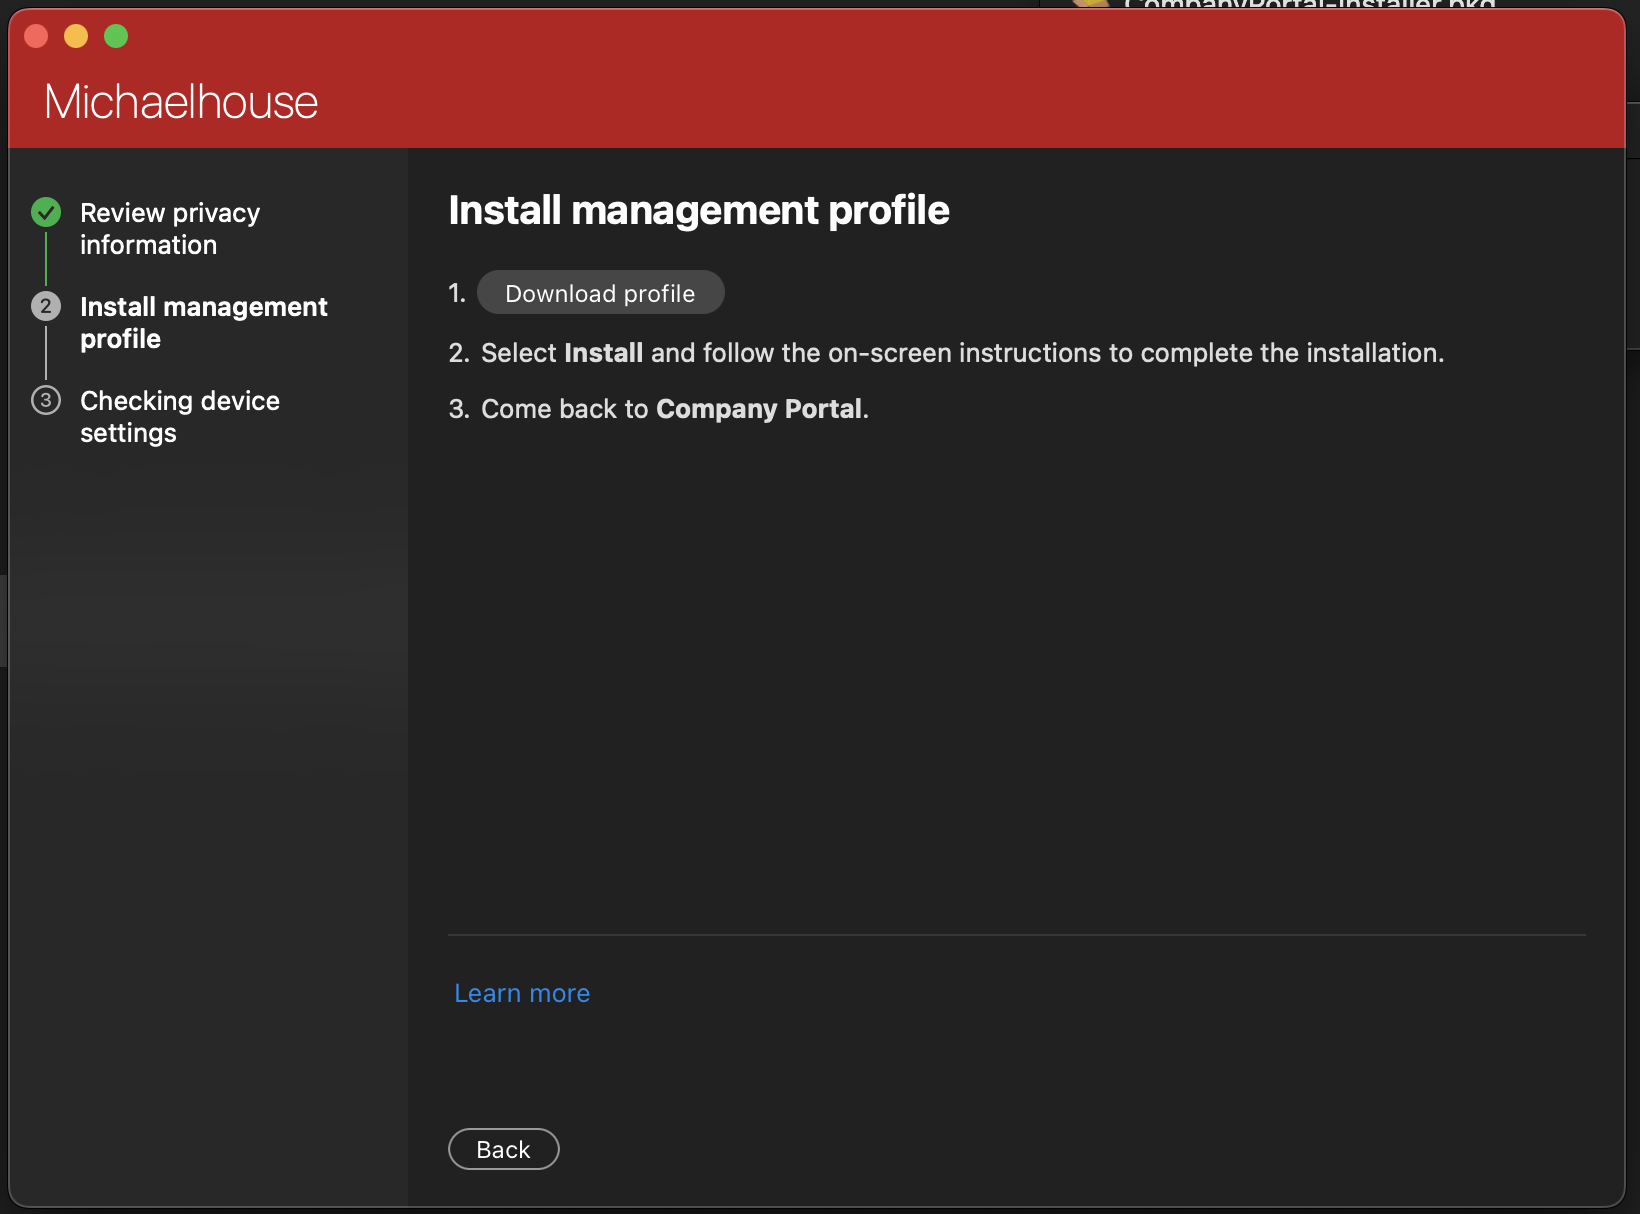
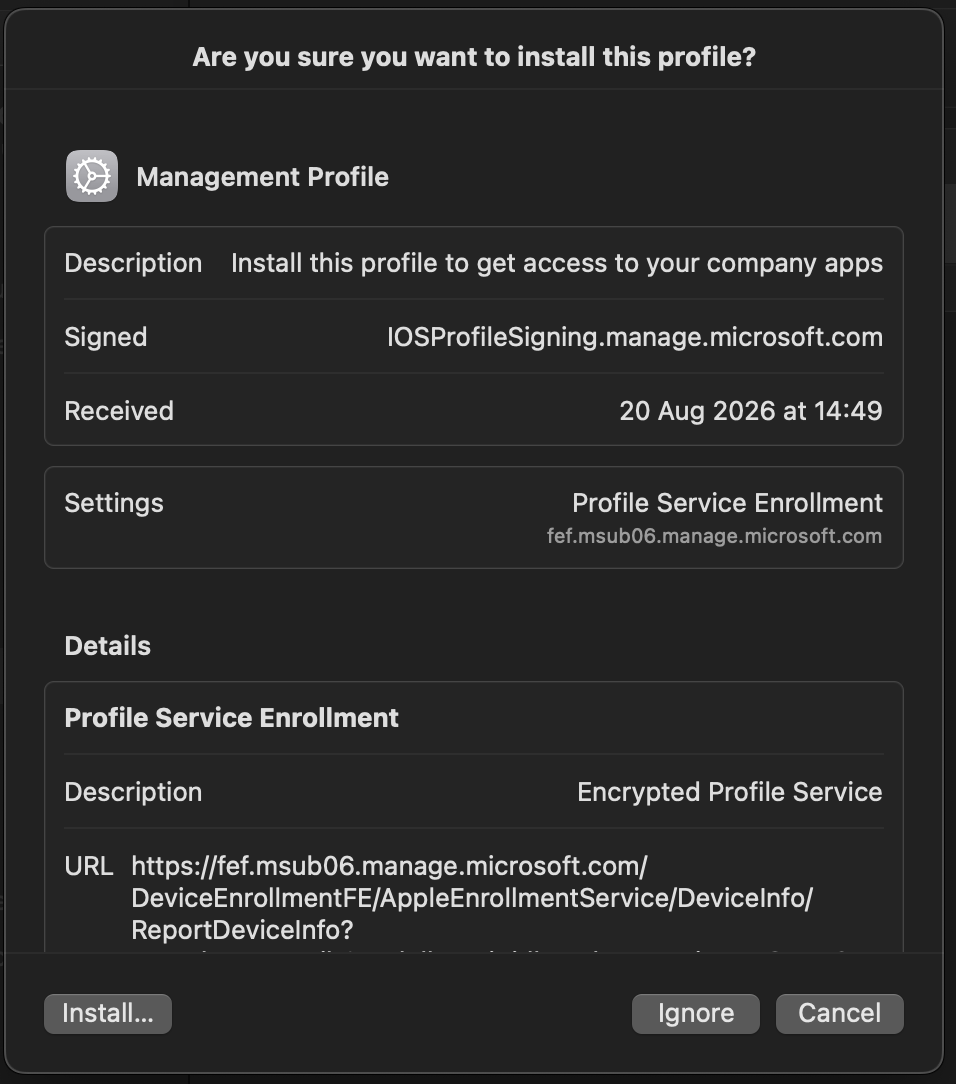
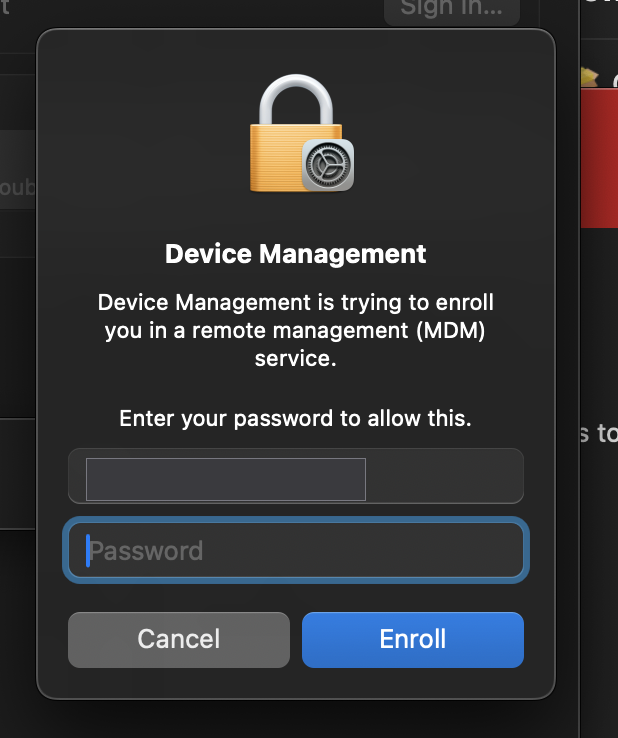
- 4Follow the prompts. When macOS asks, open
System Settings → Privacy & Security → Profiles and install the Management Profile.
You will need your Mac password — that is your Mac's own password, not the school one.
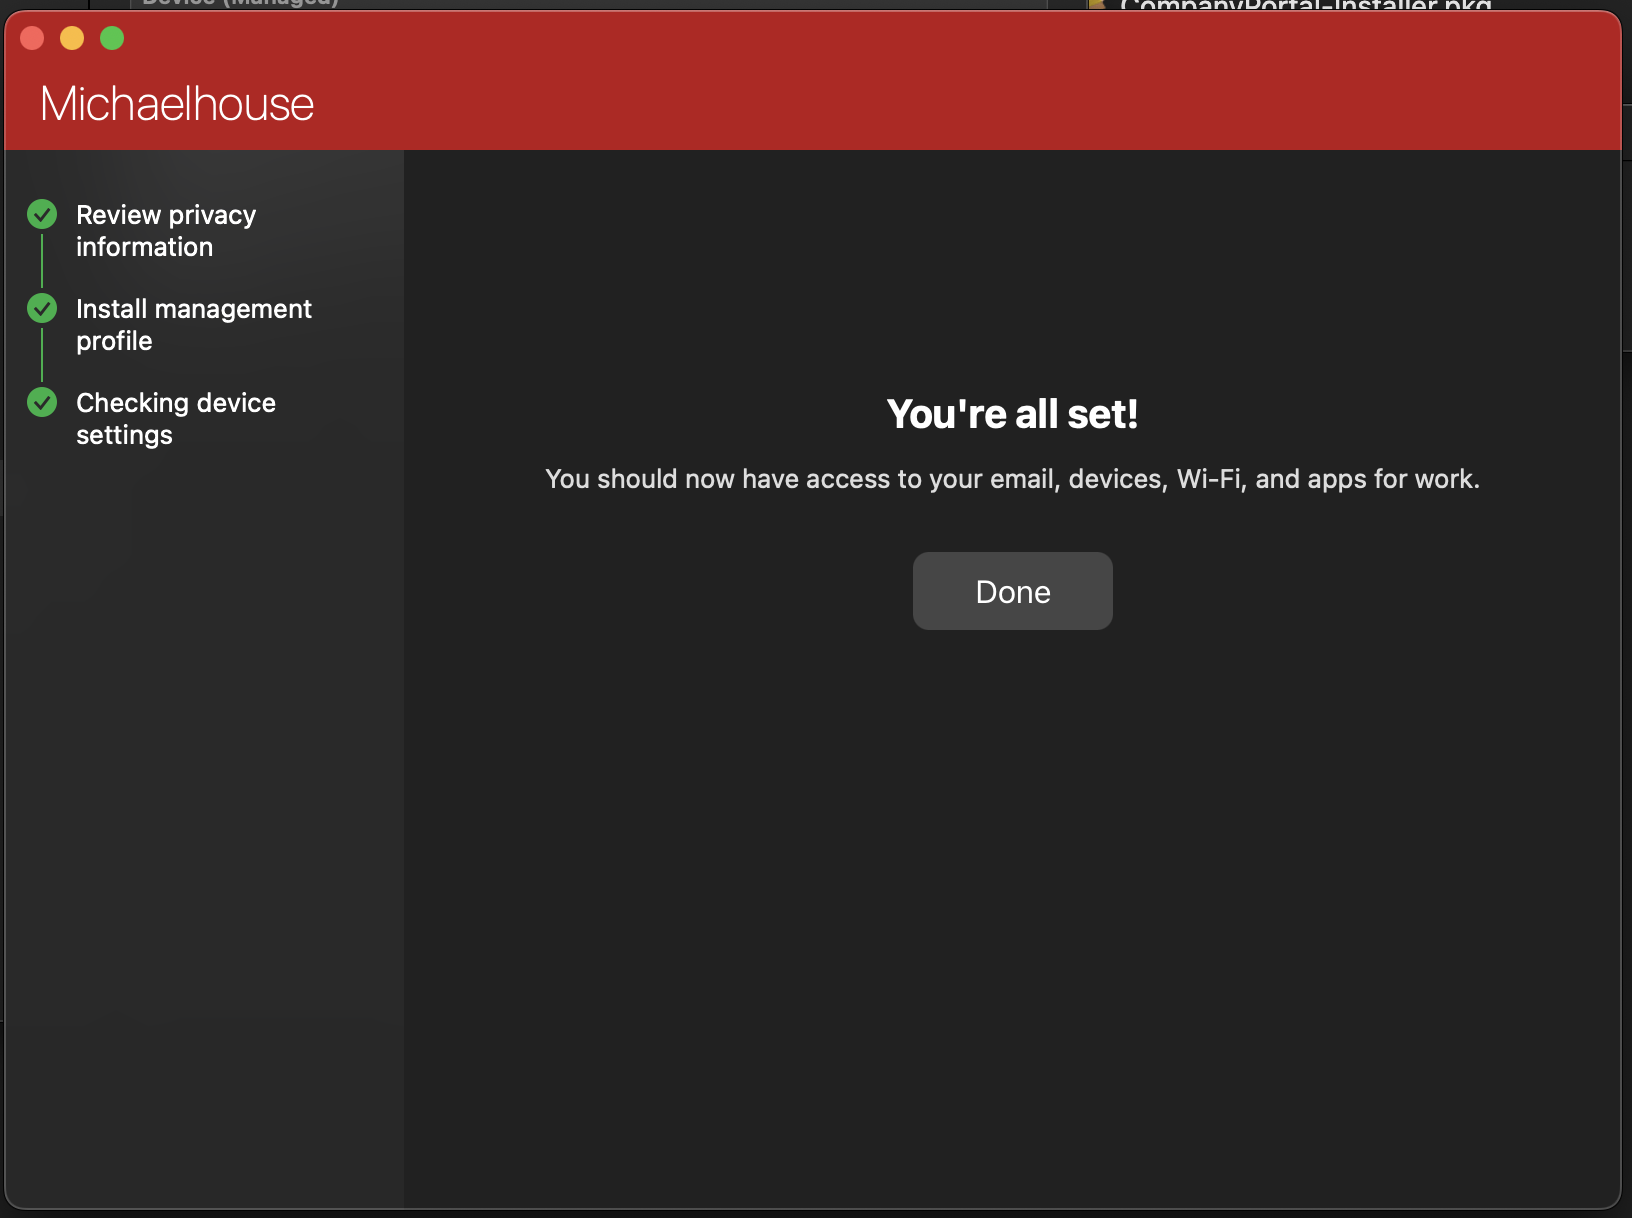
- 5Return to Company Portal and let it finish.
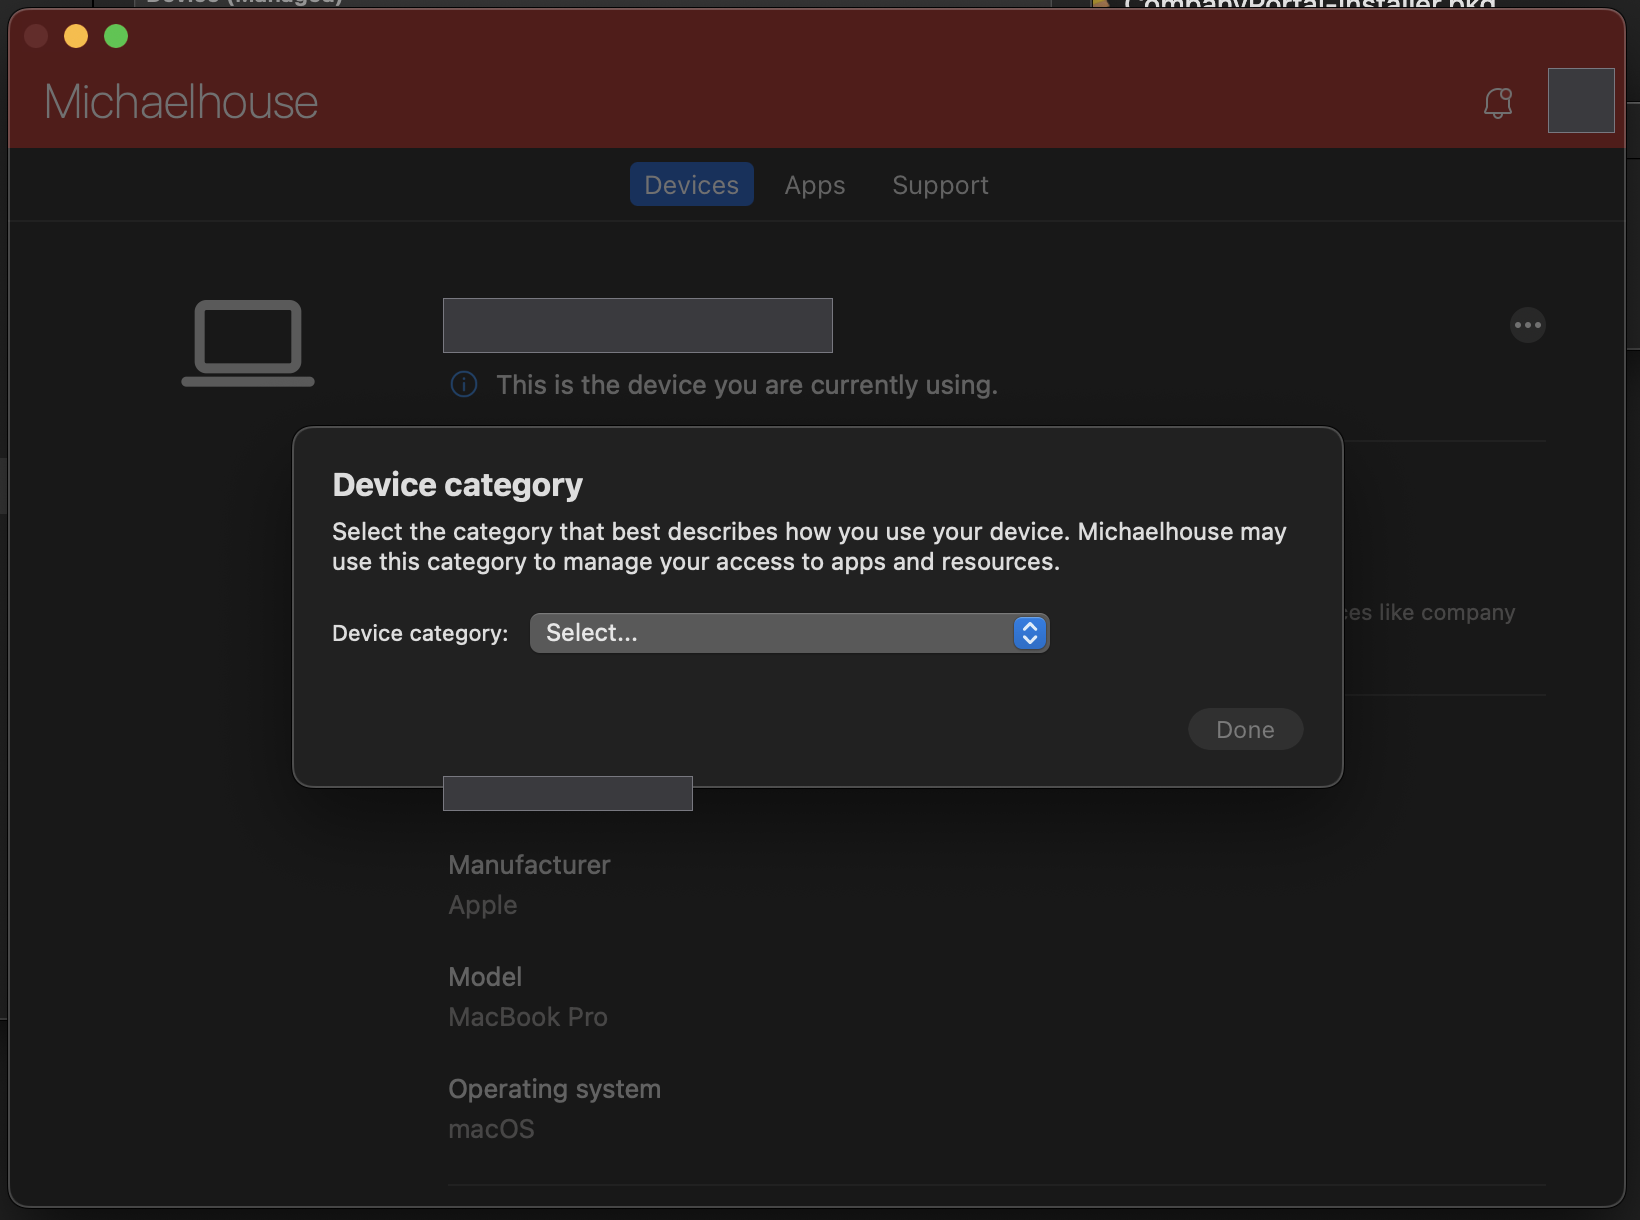
- 6Company Portal asks you to choose the best category for
this device. Choose Staff. Tap Continue. Choose honestly —
see the box below.
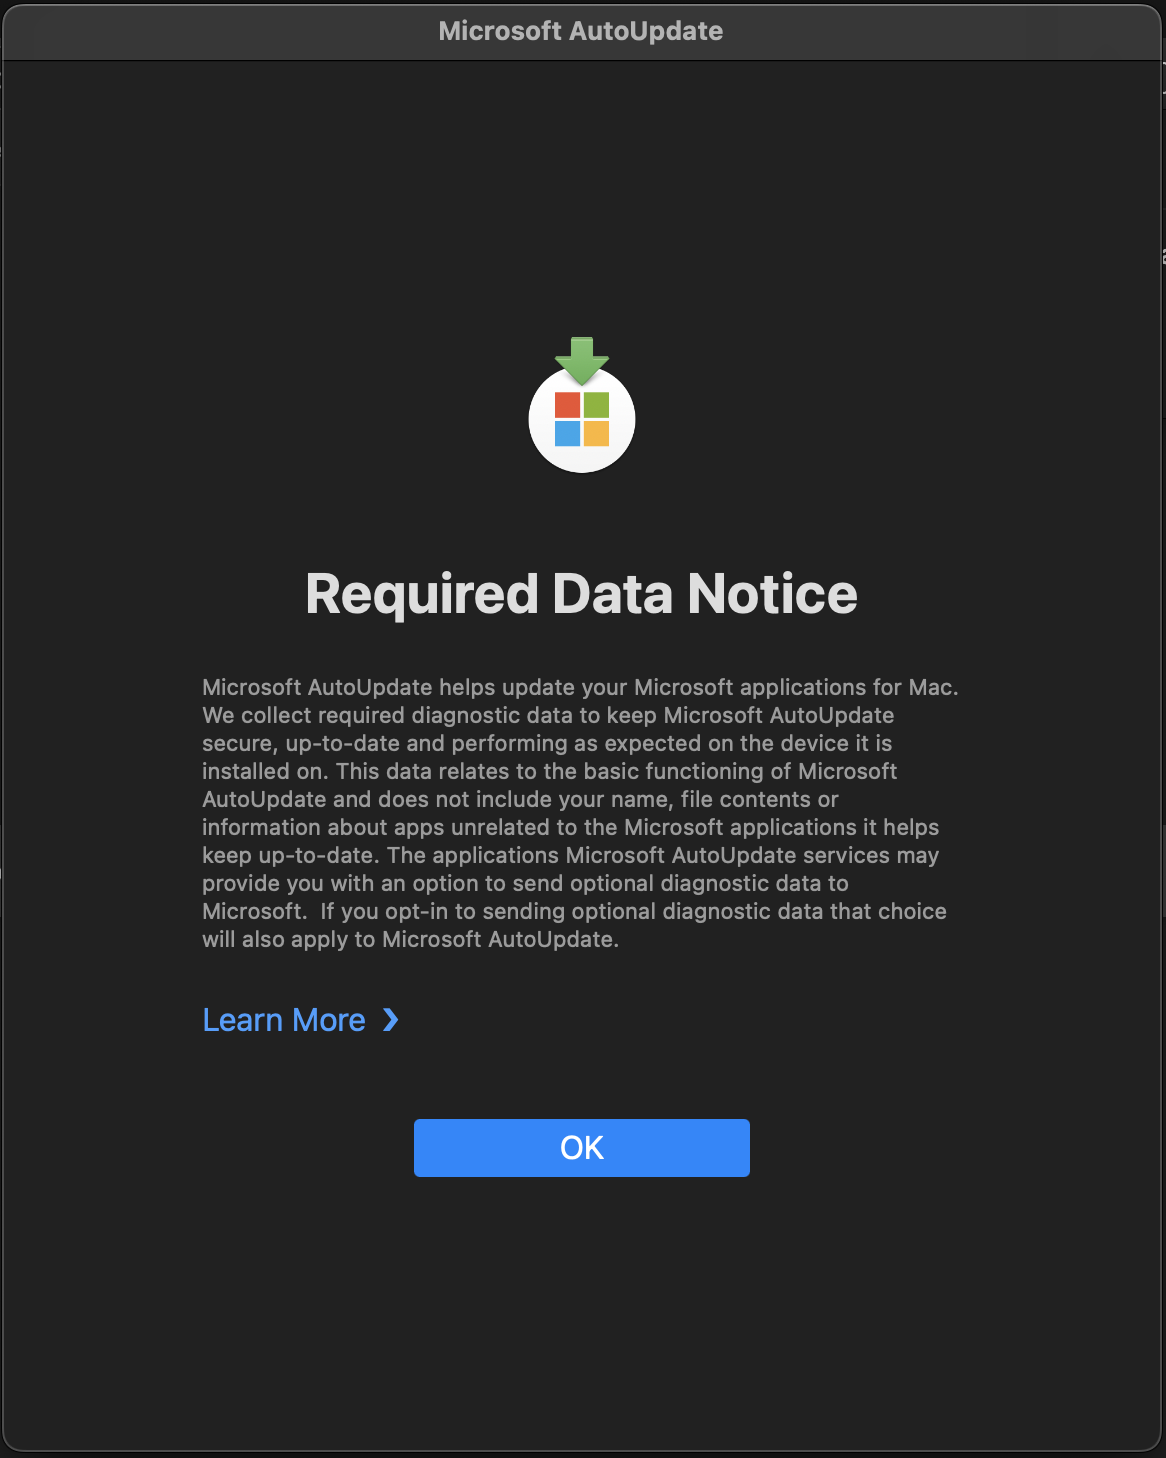
If Microsoft AutoUpdate appears and sits there
When the installer finishes, Microsoft AutoUpdate may open on its own. It is a separate app and enrolment does not need it. If it stalls, press ⌘Q to quit it, then open Company Portal from your Applications folder and carry on from step 3. On the Michaelhouse network it may not be able to reach Microsoft’s update servers, so it can sit on this screen instead of finishing.
Step 6 — choose your category honestly
Pupils choose Students. Staff choose Staff. This choice records who the Mac belongs to.
Device categories are audited and corrected every day, so choosing the wrong one gains you nothing — it will be put back automatically. Deliberately selecting a category that is not yours is a disciplinary matter.
Part C
Join MHS-SECURE — this is the step that differs on a Mac
- 7Wait about 10 minutes after enrolling. If MHS-SECURE
connects on its own, you are finished — skip to the end.
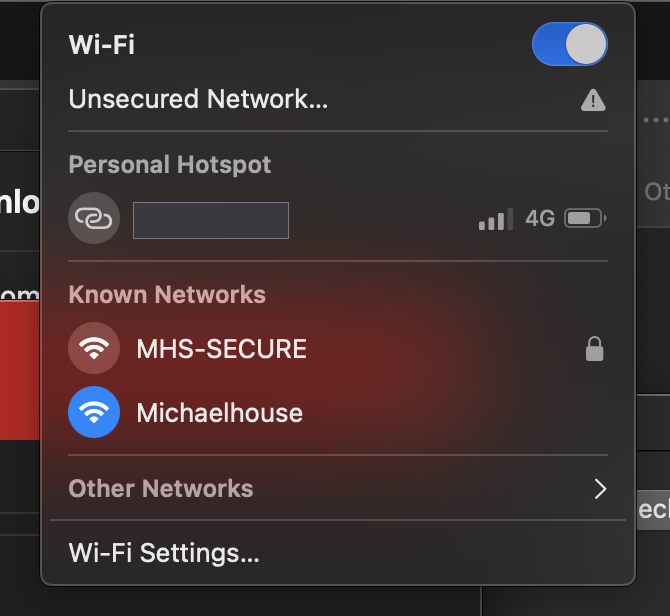
- 8If it does not, select MHS-SECURE from the Wi-Fi menu yourself.
- 9When asked for a Mode, choose EAP-TLS.
- 10Under Identity, choose the certificate that begins SM- (staff) or UM- (pupils), followed by your school address. If several are listed, take the newest.
- 11Leave the password field empty and click Join. If macOS asks you to trust a certificate, enter your Mac password and allow it.
Why the Mac is different
Both the certificate and the Wi-Fi setting are sent to your Mac automatically, so most Macs join MHS-SECURE on their own about ten minutes after enrolling — that is step 7, and if it happens you are finished. Steps 8–11 are the fallback for when the certificate has not arrived yet, which is the one part a Mac sometimes needs you to do by hand. Once joined, it is remembered.
Part D
Finish up
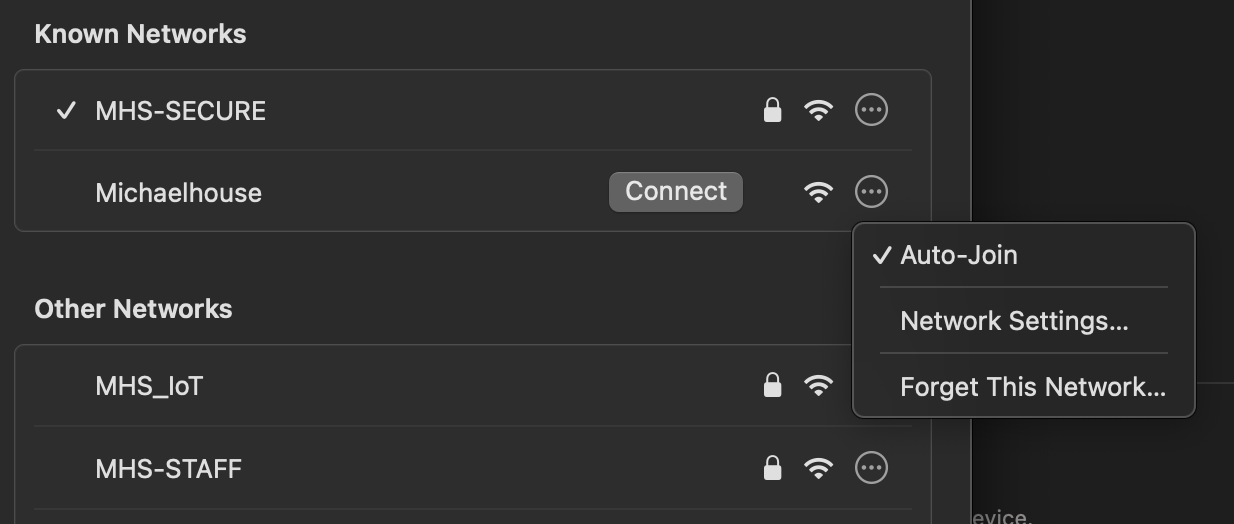
- 12Once MHS-SECURE is connected, remove the onboarding network:
System Settings → Wi-Fi → Advanced…, select Michaelhouse, click −.
If something goes wrong
Common problems
No SM- (staff) or UM- (pupil) certificate offered in the Identity list
The certificate has not arrived yet. Stay on the school network, wait ten minutes, then Company Portal → Check settings. Still nothing → IT.
It keeps asking for a password
Mode is probably not set to EAP-TLS, or no certificate was chosen. There is no Wi-Fi password for MHS-SECURE.
Private Wi-Fi Address is greyed out and I cannot change it
That is correct and deliberate. The school sets your Mac to use its real Wi-Fi address on MHS-SECURE so the network can recognise it. Nothing for you to do.
Asked for a password over and over when trusting the certificate
Enter your Mac password, not your school password. If it still loops, tell IT — the certificate may need reinstalling into the system keychain.
Management Profile will not install
You need an admin account on the Mac. If you are not an admin, bring it to IT.
Getting help: tell IT the step number and what appeared on screen.